Rear View Mirror: We all know how useless the standard rearview mirror is. We installed a WOLFBOX G840S 12″ 4K Mirror Dash Cam Backup Camera that fits over the standard mirror. I installed it with the hardwire kit and needed the 33 foot Rear Camera Extension Cord Cable to reach from the garage to the dash area. (I had only about 12″ extra, close call!) The rearview camera is installed above the rear garage door. This is a wired camera and fishing the wire forward through the camper, connecting to the backup light and hardwiring power for the unit were all a bit challenging. The final installation is very clean and works beautifully. People have asked how the wiring wiring was run. See below on how we did it.


Reading Lights: This area is a favorite reading spot in the evening. The stock lights didn’t work well for reading. We found reading lights on Amazon that match those in the bedroom. They are installed on the forward side of the plastic panel between the cab and dinette/doorway areas. Power is sourced from the 12 volt outlets on the opposite sides of the panels using T-Tap terminals. Fishing the wires was annoying.


Running Camera Wiring:
People ask how we routed our rear view camera wiring. Here’s how our was run and it was an adventure! There is a long series of photos in an image slider below this list that illustrate most of the steps.
- Drill a hole for the camera cable to enter the garage from above the garage door hinge. Be very careful because there is little room for error. We ran the wire through the hole sealed the hole and mounted the camera using 3M structural double sided tape.
- Dismount the driver side tail light, figure out which is the backup light wire and attach a wire to it to run through a hole you drill into the garage. Run that wire to the garage ceiling where you attach it to the backup light sensor wire in the camera cable.
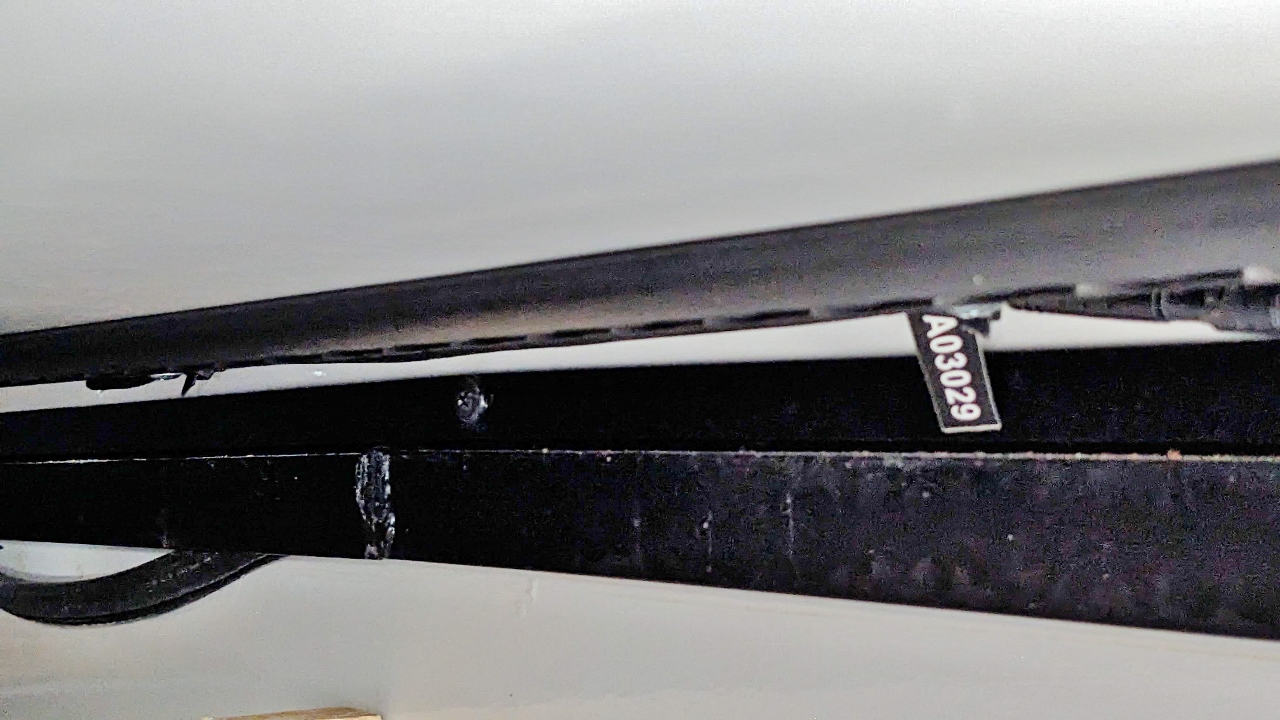
- Run the cable along the garage ceiling to the driver side bulkhead.
- Lift the driver side bed and remove the shallow metal pan which will give you access to the front garage wall and the area behind the water cabinet panel. Drill a hole through the garage wall and into this space and fish the cable through it.
- Remove the toilet cassette and the outside dinette seat. This will give you additional access to the area between the water cabinet area and the dinette seat. Use a wiring fish to pull the camera cable through the area behind the bathroom. This was a bit tricky but succeeded on our second attempt.
- Drill a hole to pull the camera cable through the front bulkhead of the dinette as close to the floor as you can. We removed the shoe molding along the outside of the dinette floor, removed a groove in the back/bottom corner of the molding and used it to conceal the cable to where we could begin tucking it behind the door trim.
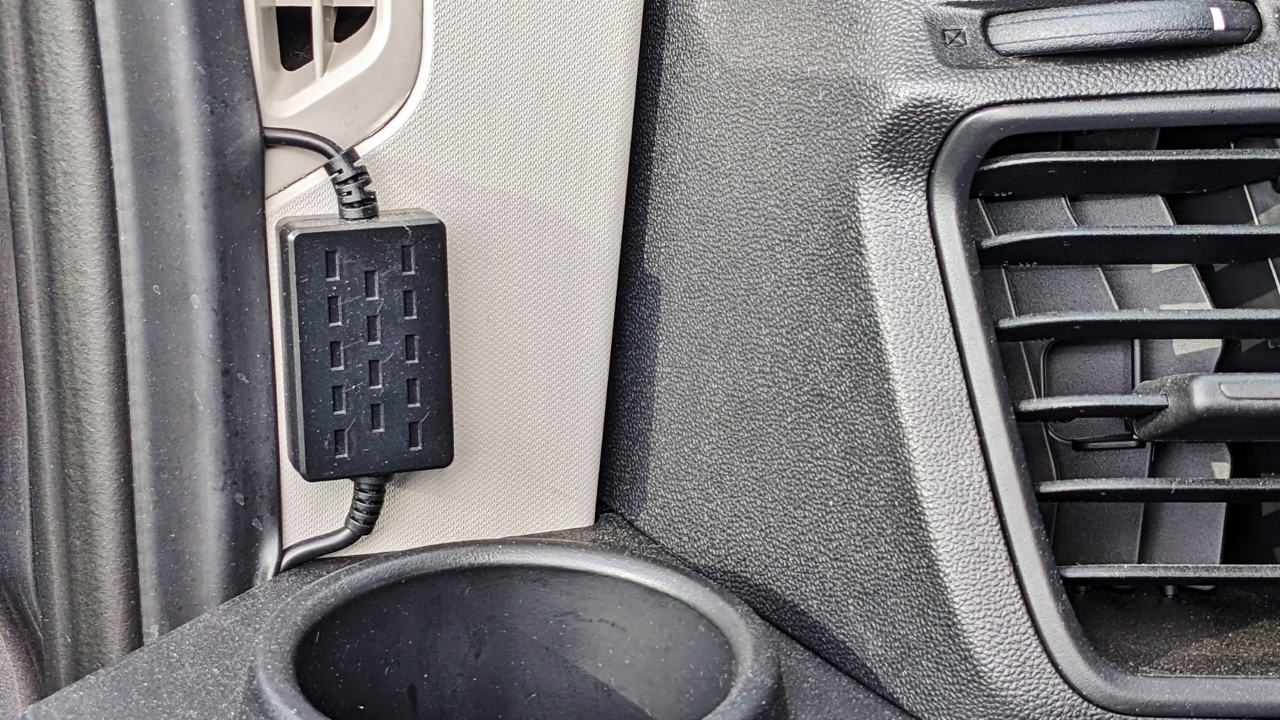
- There was just enough cable to get to the area in front of the driver side dash cup holder. That’s where we mounted the little wiring module block with double sided tape.
- From there it was simply a matter of running the cable behind trim around the windshield and to the mirror area.
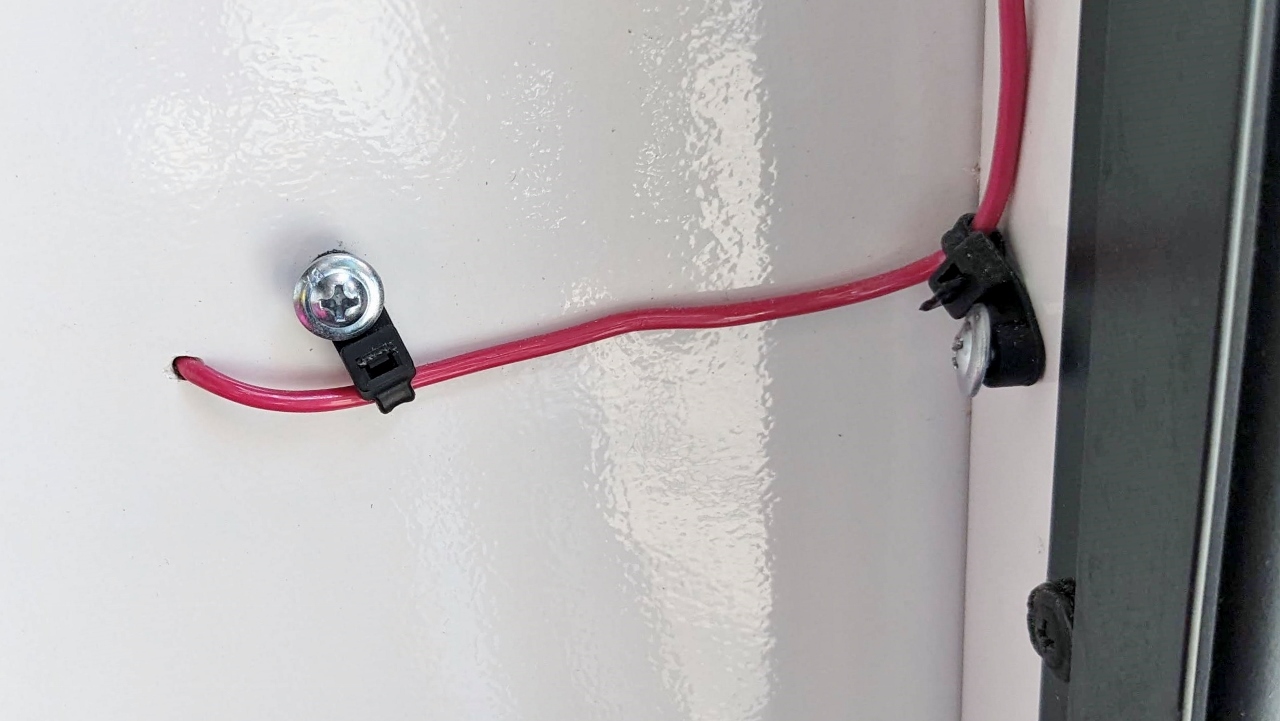
- Power wiring requires two positive wire connections, one to an always-on circuit and another to an ignition-switched wire. We found it impossible to access fuse blocks under the dash. Instead we opened to engine compartment block and had lots of space to make those connections using “Add a Circuit ATR Blade Fuse Adapters”. The positive wires were pulled through an existing opening in the firewall.
- Almost the entire dash area is plastic so for a ground wire we attached a wire to a handy bolt in the driver area footwell.
- The GPS sensor was mounted in the corner of the passenger side dash.
- All cables were routed to the mirror area. The wiring cover above the mirror simply snaps in half and we ran the wires through it and plugged the into the camera screen which we attached to the original mirror with the supplied silicone bands.
- Glory be, everything worked as advertised as soon as we started the car!